
It’s finally here!
My little green oasis, standing tall and proud, in it’s dedicated corner.
It has taken me almost two months to complete this makeover. Firstly, because I started from scratch (this balcony was totally empty, you can see my balcony before over here). So, like a blank canvas, which, on one hand, you can paint it the way you like, on the other hand, you can be completely overwhelmed with the enormous number of ideas you have on hand. Secondly, because, there were things that I ordered online and that cost me a little time as well.
So less talking, more watching. Also, it will be a long read, so grab your coffee and enjoy!
To start with, let’s see the before picture.
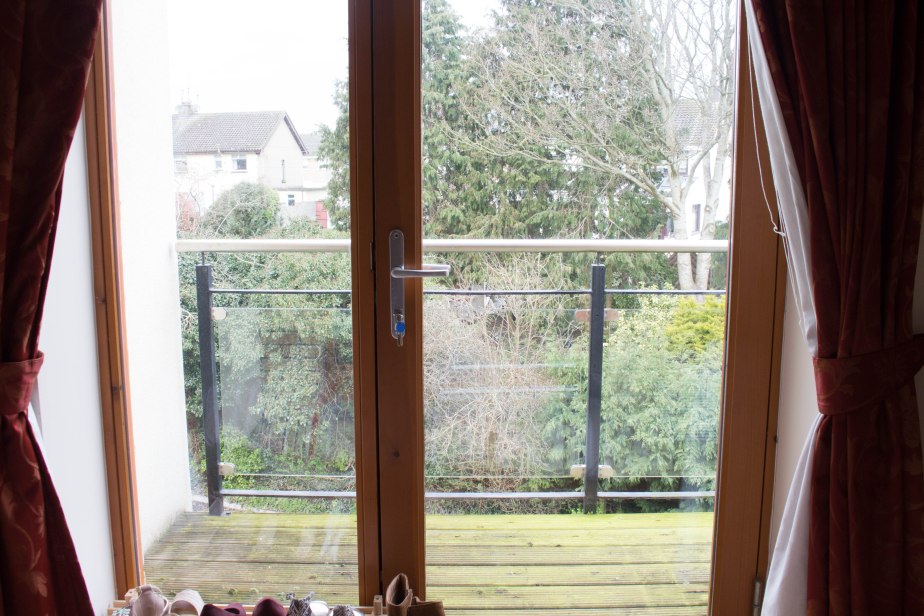
And here’s the after.
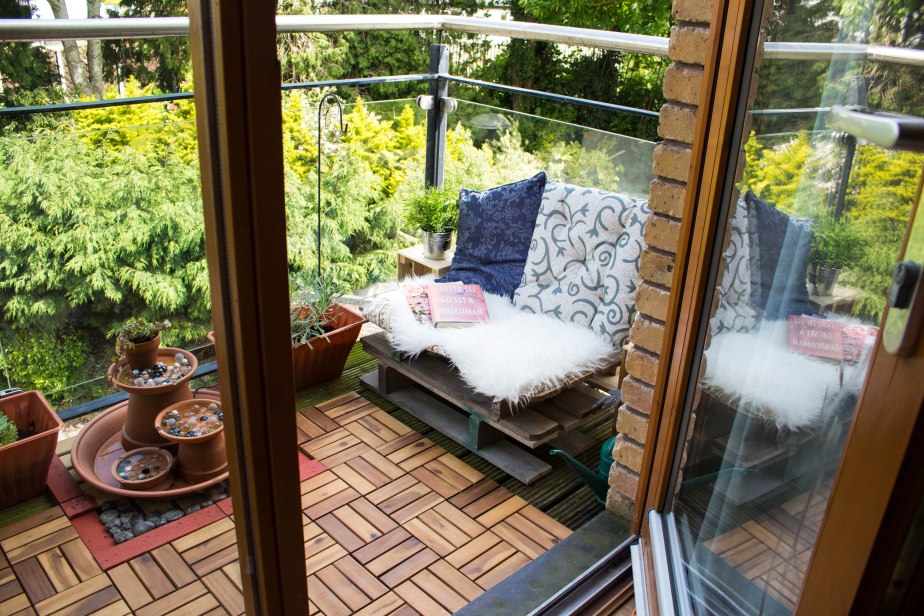
As you guys know, I was initially considering the colorful garden theme, but as I thought about it more and more, I wanted to create a peaceful, serene corner for myself. Something which had a very organic, relaxed vibe to it. Hence, lots of greens, wood, pebbles and sound of falling water was what I went for.
I started with the Flooring first. I wanted to get rid of the dark, dirty flooring of the balcony that I had. One option, was to cover it with artificial grass. But, no! For two reasons; first, that it appear to be very fake to me (looks like a corner of Tennis court). Second, because it was very expensive, (minimum I was getting it, was a roll of €50, which was too much for one item). Also, that I wanted to have different textures and heights in my layout to create dimension. So, flat green faux grass was out of question. The second option, that I finally opted for, was wooden patio tiles. I initially got a set of 9 tiles from Ikea, but then it was very unsymmetrical. Just recently, I saw a set of 10 wooden tiles from Aldi for 20 bucks. So I grabbed them immediately. However, I can safely say, that Ikea ones are better looking color-wise, but Aldi ones, worked just fine.
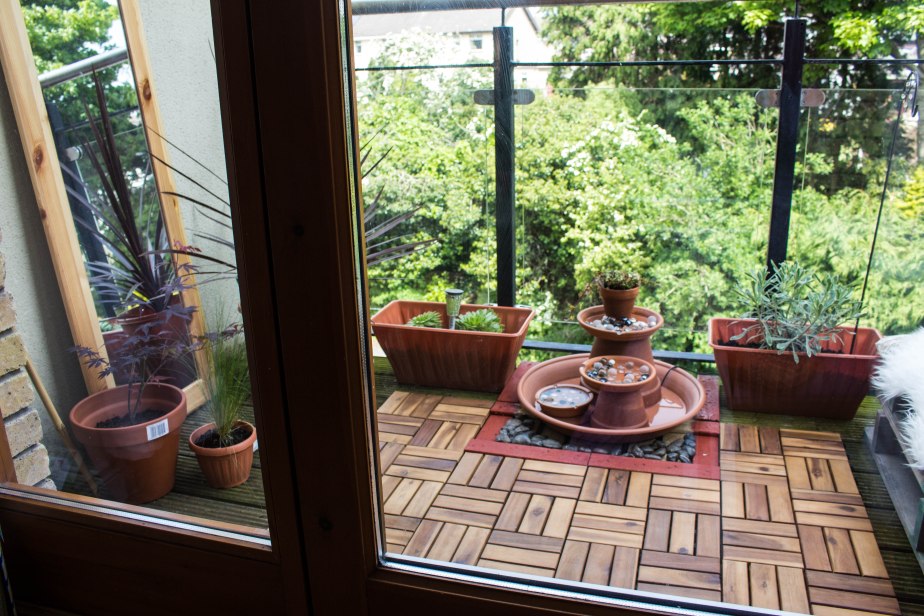
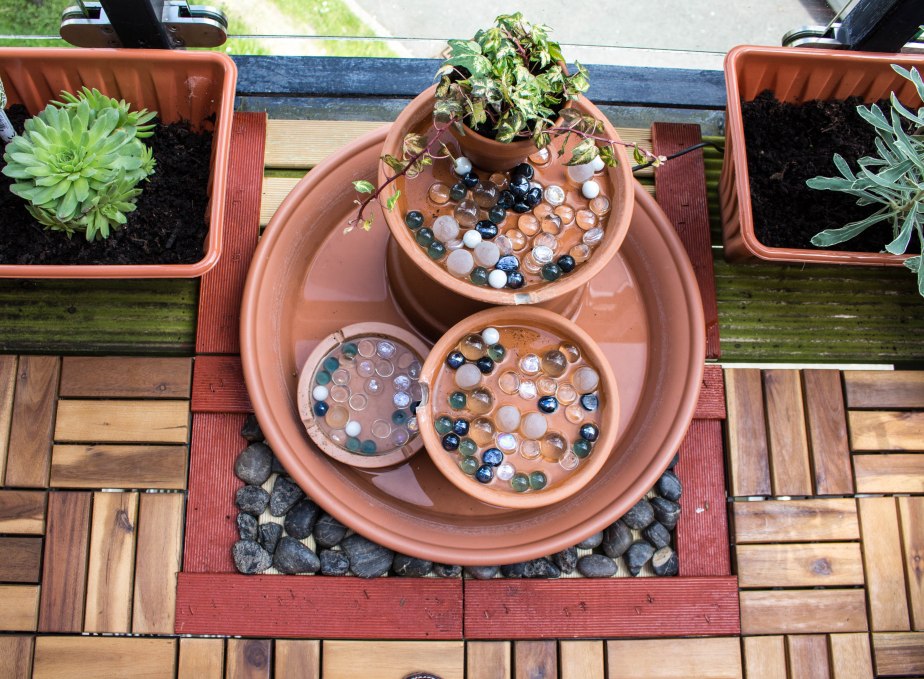
Now, for the statement/ focus piece, I did a DIY terracotta fountain which I found on Youtube. In case you missed the read, or wanted to go through it again, here’s the link. 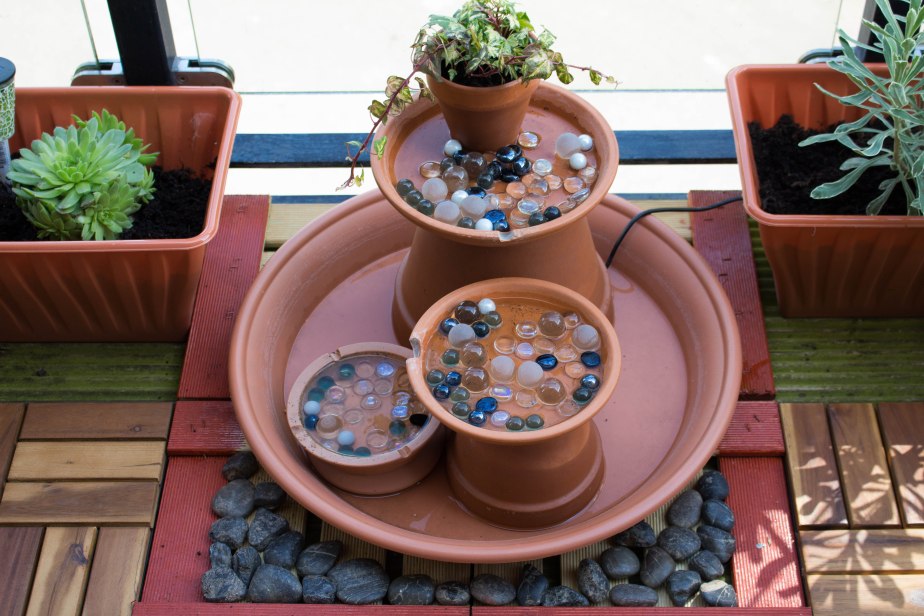
When, I put this up on facebook, lot’s of you guys recommended to put some colorful stones in the fountain. I saw these blue/ black/ white marbles in Homebase the other day. Bought them instantly. Made me so happy! I got a pack of decorative beach stones from Dealz, which I threw at the bottom of the tiles. I plan to collect more beach stones (from the beach of course) and fill in the gaps of my garden. You can get a bag of beach stones from Homebase as well, for €12.45, but again who wants to spend money when you can get it for free.
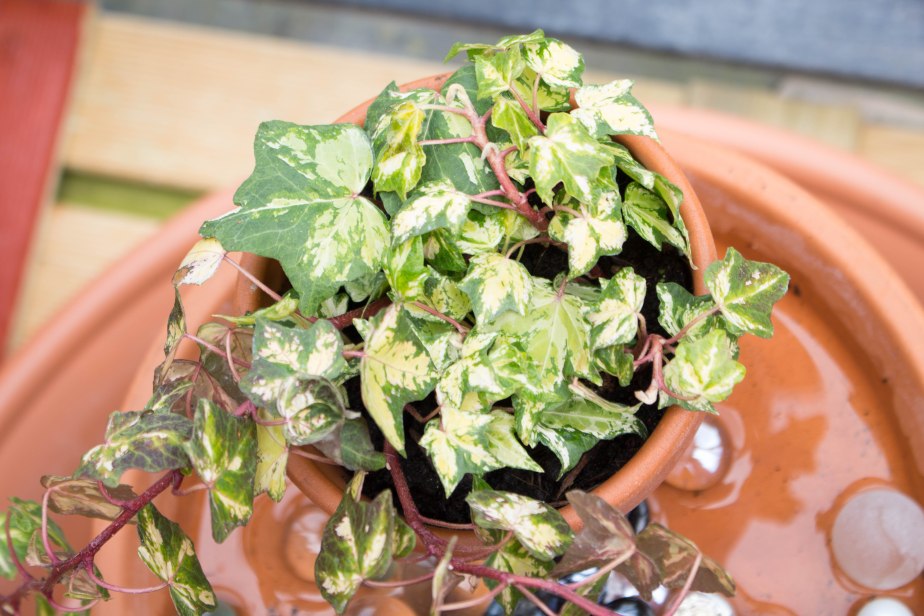
I replaced the fake plant that I had in my DIY post, with real Ivy this time. Looks great, doesn’t it!
 I’m taking care of my babies everyday, in case I burn them again :S.
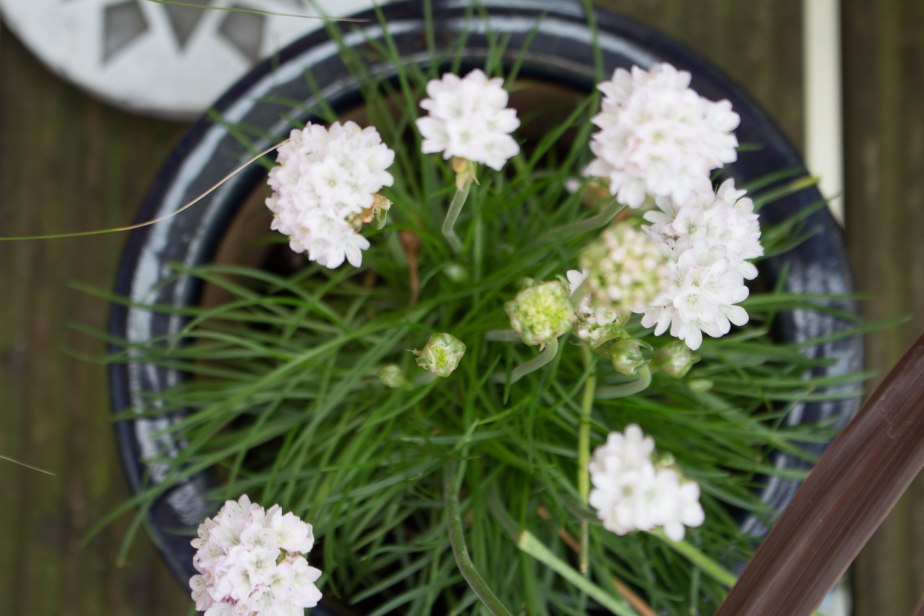
A garden is nothing without Plants of course. Hence, I spent a lot of time in the Garden Center, picking the right kind of leafy plants I wanted. Since, I was following the Zen style of gardening, I decided on green, yellow, burgundy leaves, with only white color flowers here and there. Also, a Japanese maple and some Ornamental grass was a must.
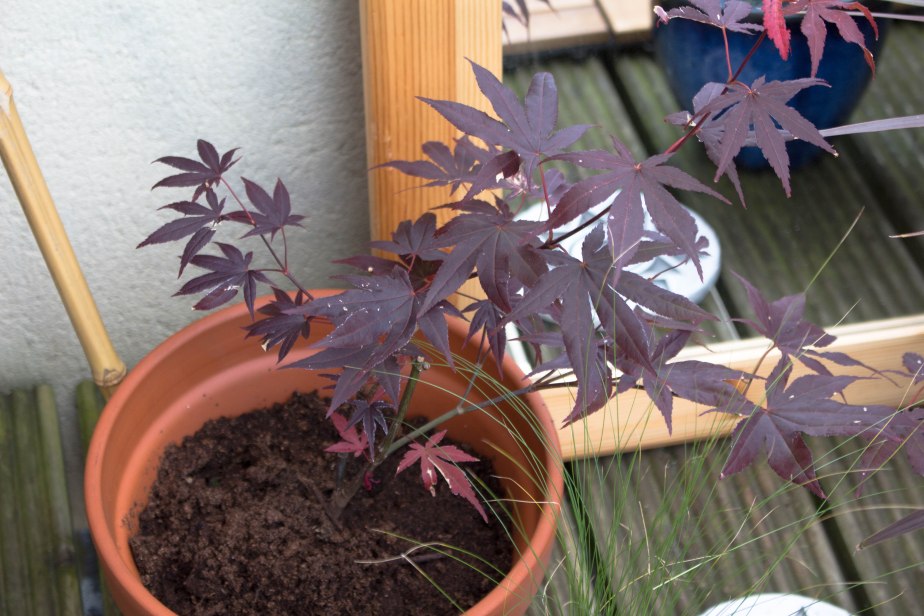
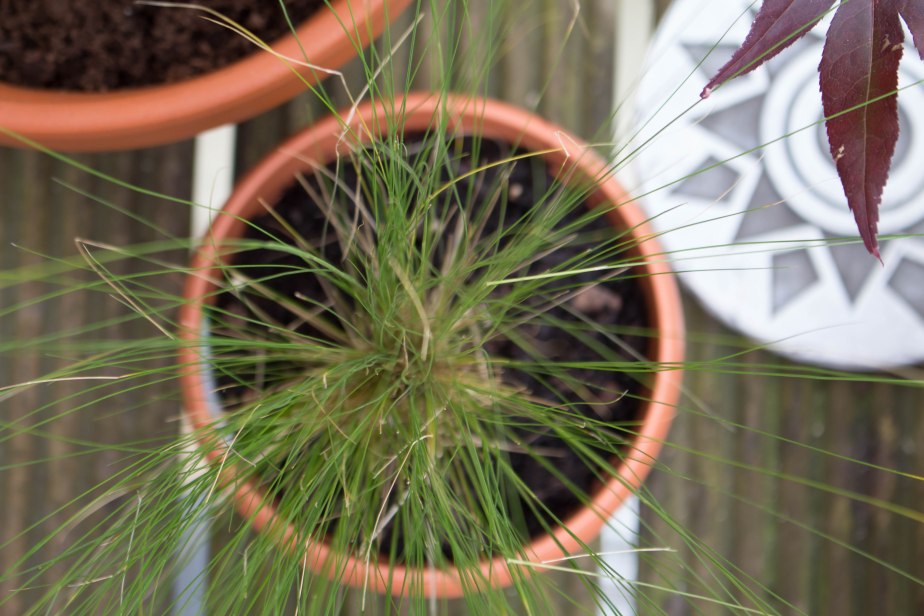
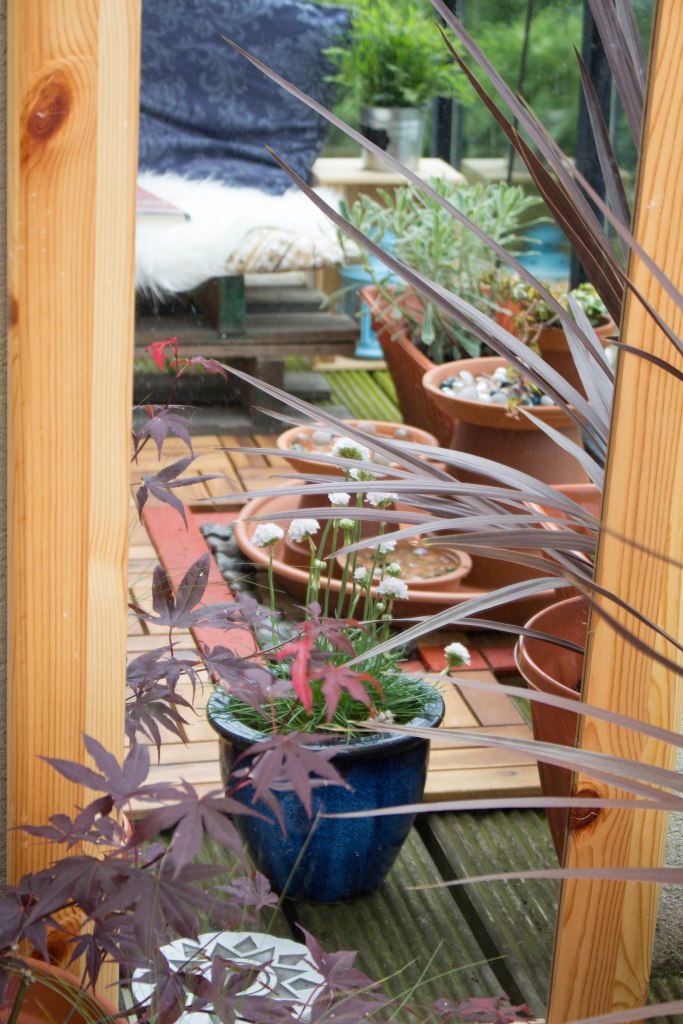
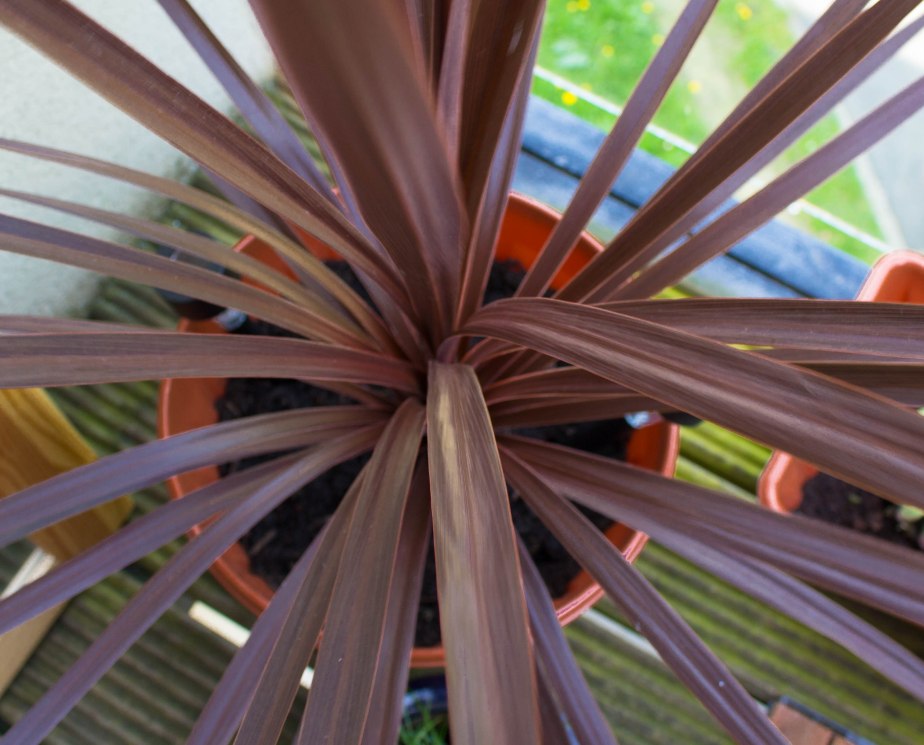
My favorite plant in all, is the burgundy colored Palm. It’s like a Red Fountain; standing tall, yet filling up a whole lot of space.
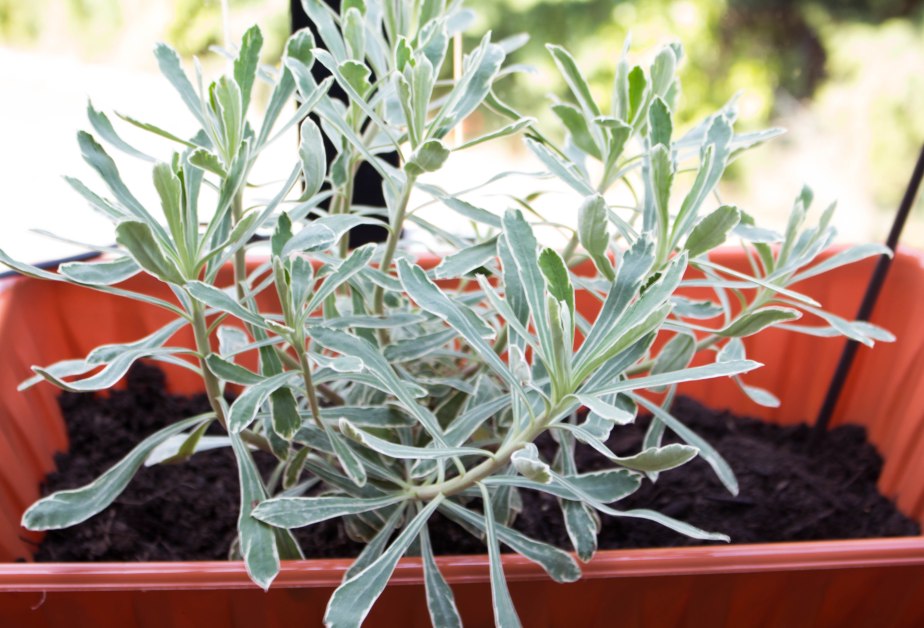
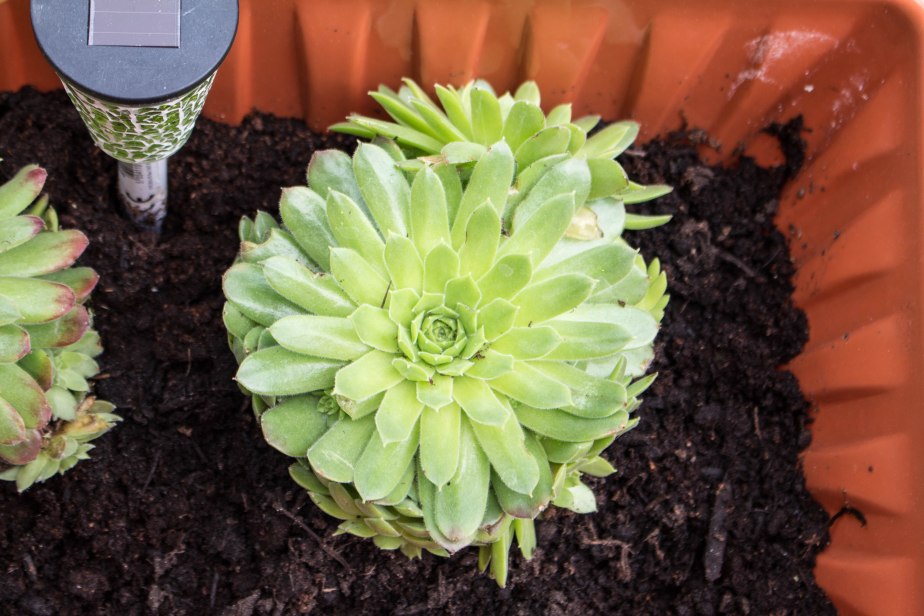
Guys, in case you haven’t noticed, Succulents are all the rage these days. They are so easy to manage as well. So I decided on this beautiful Houseleek.
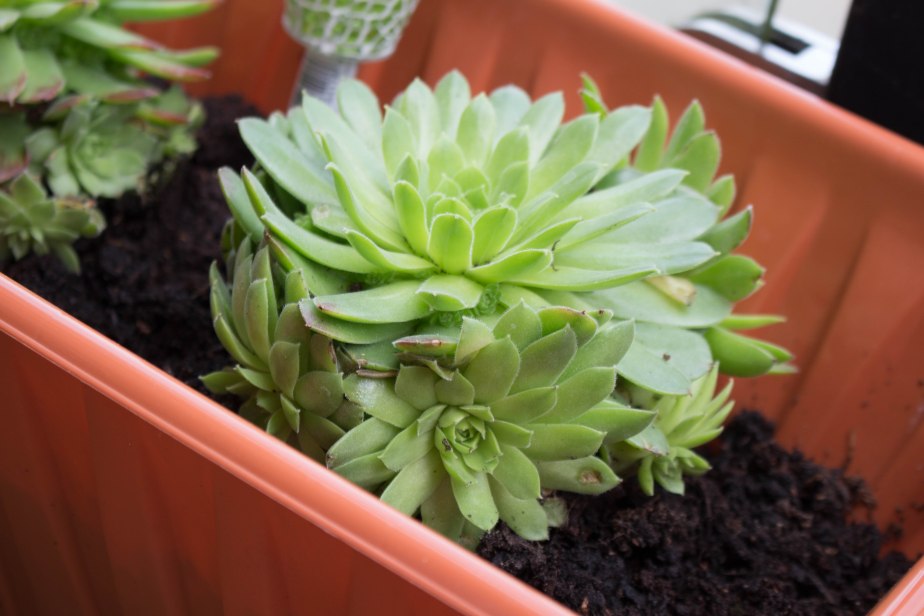
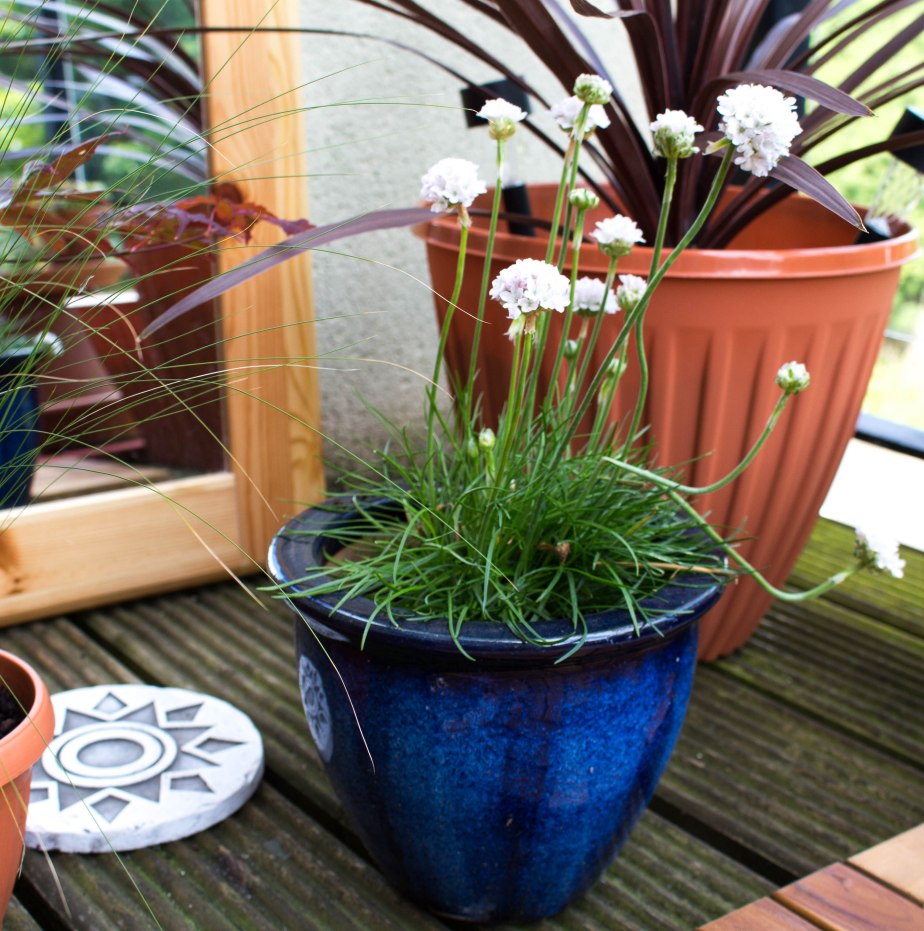
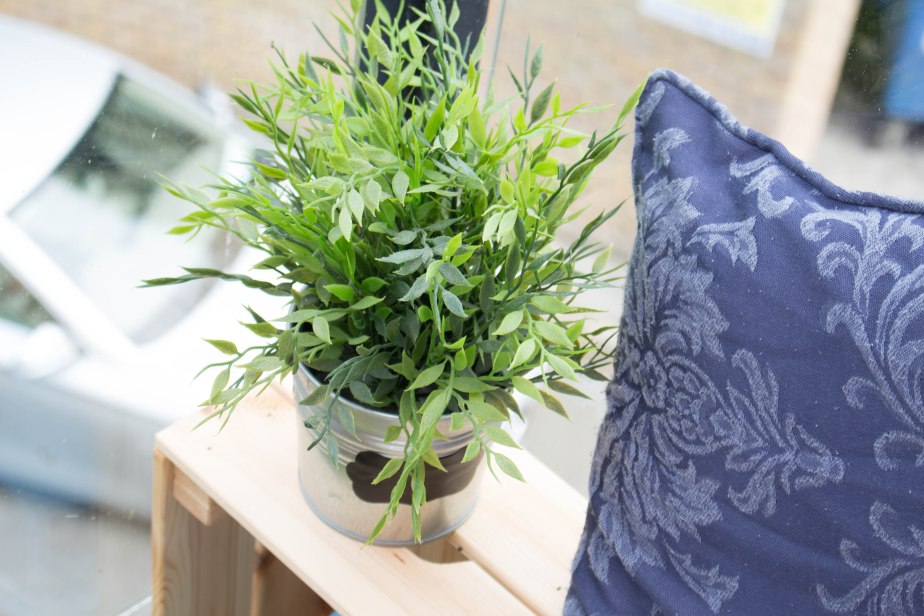
The plant containers I’ve used are all different shapes, sizes and materials, to add layers to the scene. The blue planter is the accent planter, to add spice to the otherwise monotone terracotta colored planters.

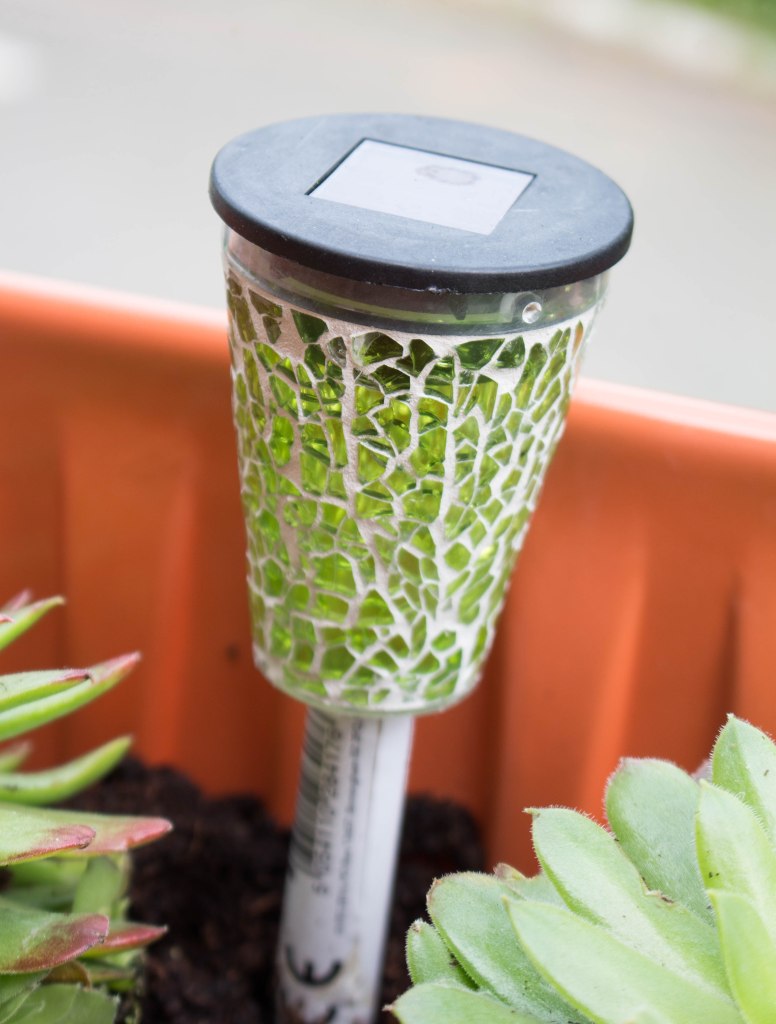
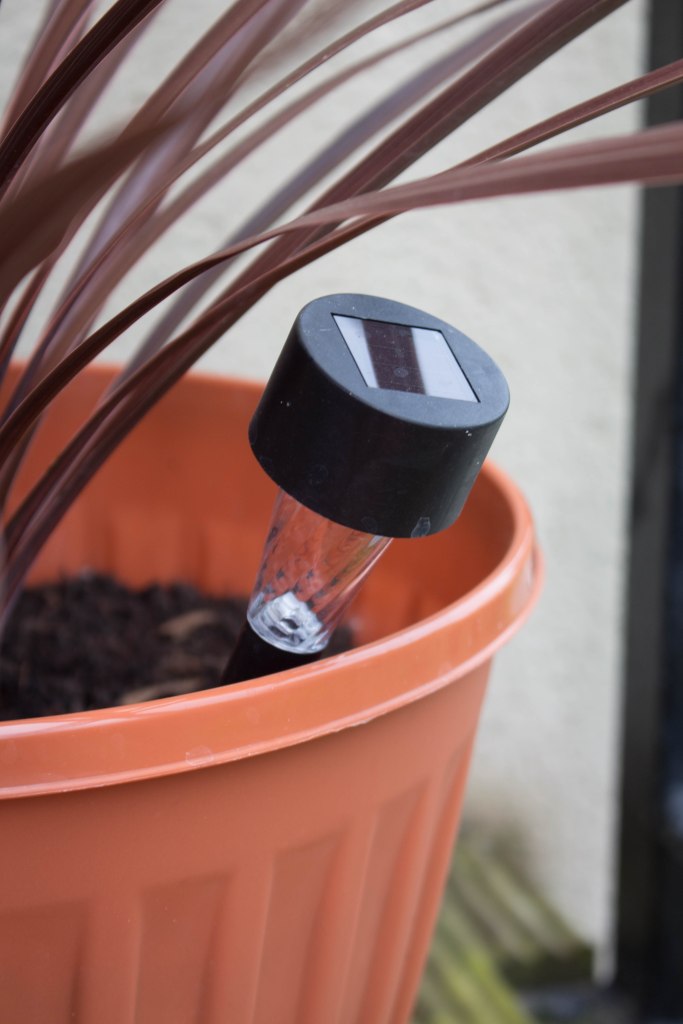
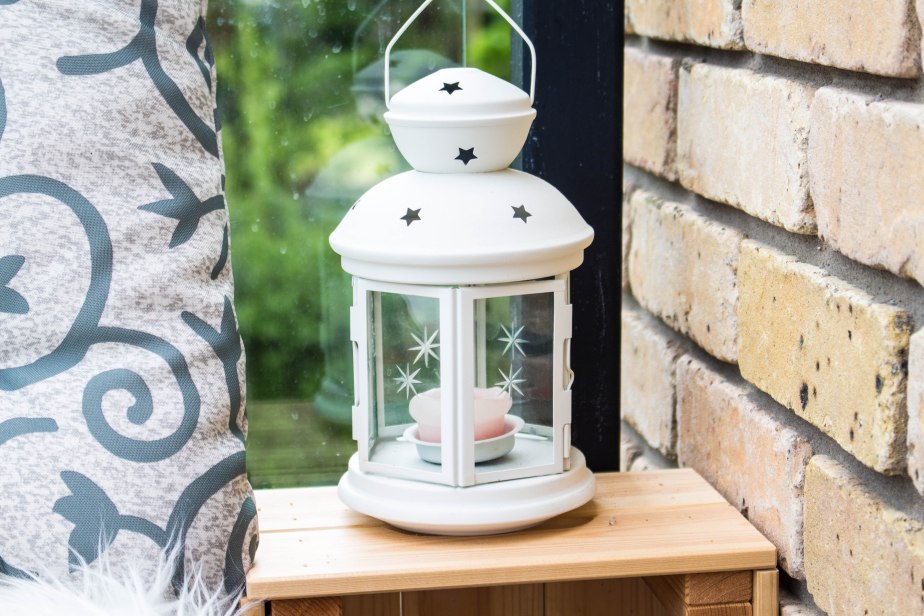
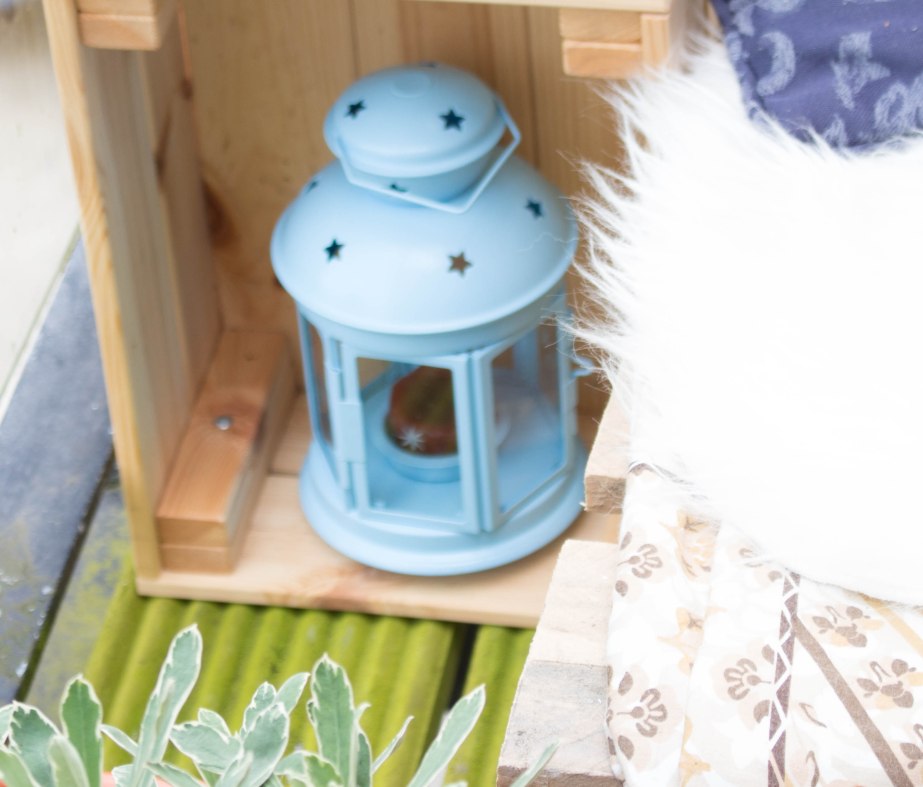
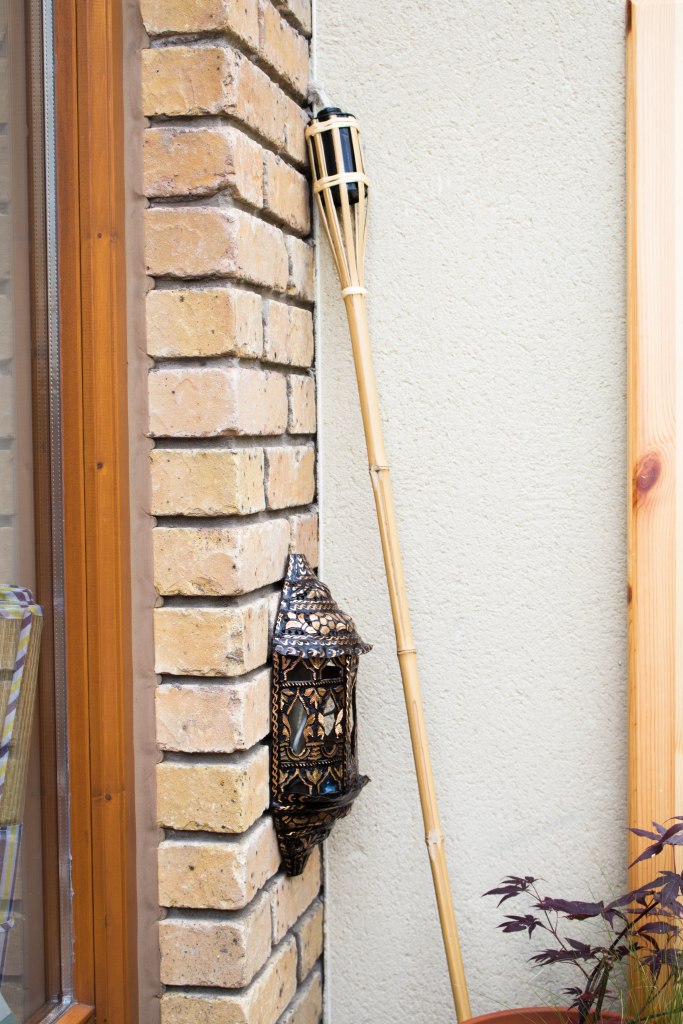
Plants, immediately brought the empty space to life. I loved how the leaves moved with the breeze, at night. The thing that was missing was some Lighting for night time. I already had these lanterns from Ikea. But, litting up candles was work. So I found this solar powered lamps in Dealz. And totally totally loved them. They are a perfect solution for a lazy person like me. You don’t have to go in the balcony, to switch on any button etc. All you have to do is fix them in the soil, and you are good to go!
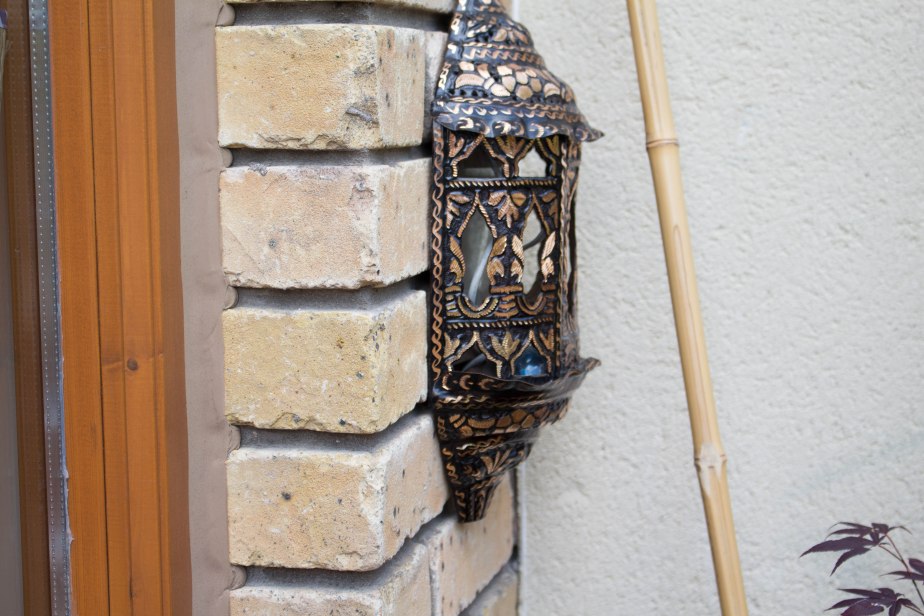

What is a Japanese Garden without a Bamboo Torch 🙂
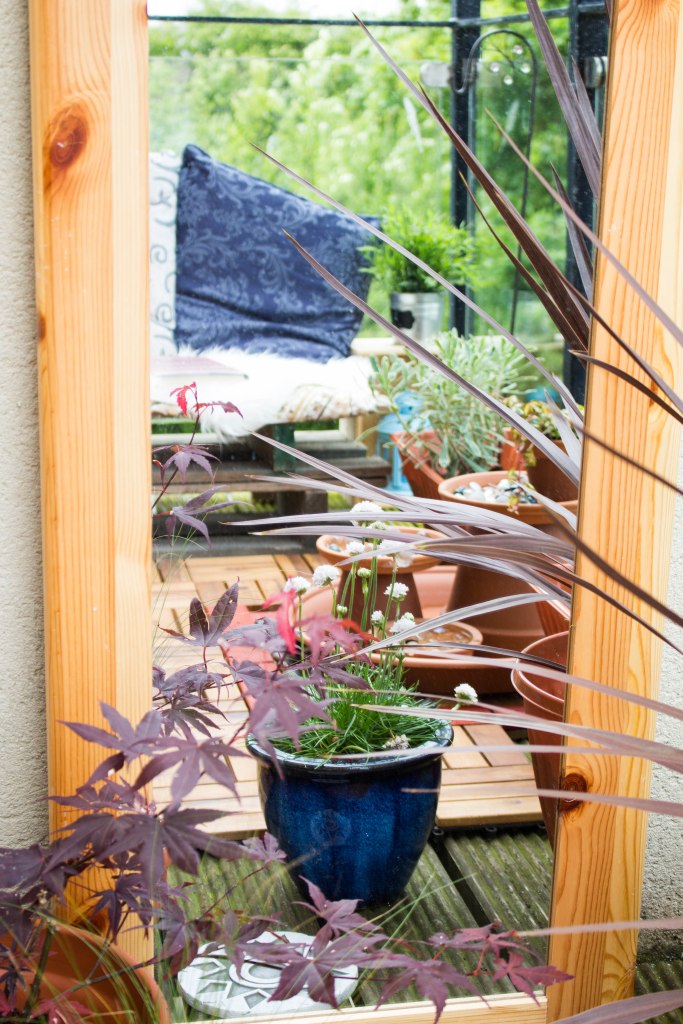
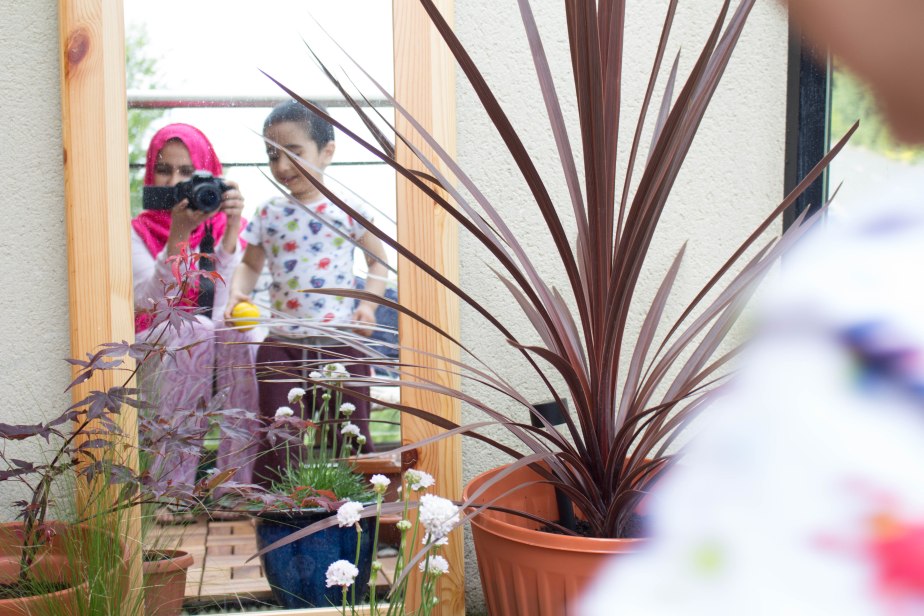
Guys, even after adding the plants and the lights, some juice was missing. Also, the wall at the back of my plant-corner was very pale. So, I had to add a trellis or something. While I was so confused and looking for inspiration, I got the idea of adding an Outdoor Mirror from Pinterest. Just, the perfect solution for my balcony garden. It gives the illusion of more space, more greenery and add that awe-factor that was so missing.
I thought my balcony was pretty tiny. But, even after filling it with so many things, a huge chunk of it (opposite the plant-corner) looked empty. Also, there was no furniture or sitting place in my garden so far. So, I decided to have a Sitting place, where I could read a book or enjoy coffee in the evening (dreams, dreams :P). However, I knew, the weather in Ireland will not allow me to enjoy my sitting corner for more than a few months. For the rest of the year, it will just be collecting dust and rain water. So, I don’t want to spend a fortune on this. As you guys must have noticed, DIY of wooden pallets are so rampant. I got this free of cost wooden pallet from a builder company nearby. And took it to a carpenter, to divide it in two and stack in on top of each other. I threw a throw and some cushions on it and sitting area done!
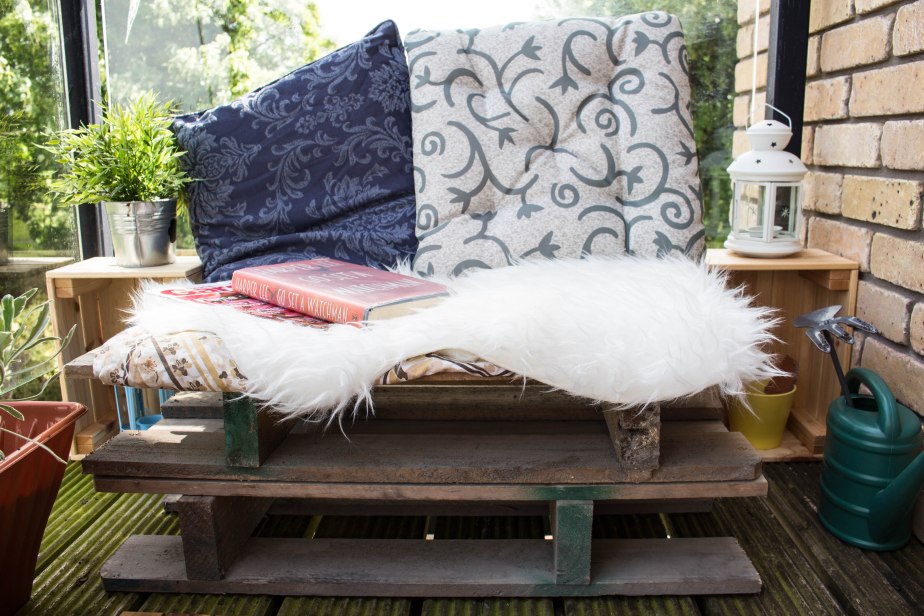
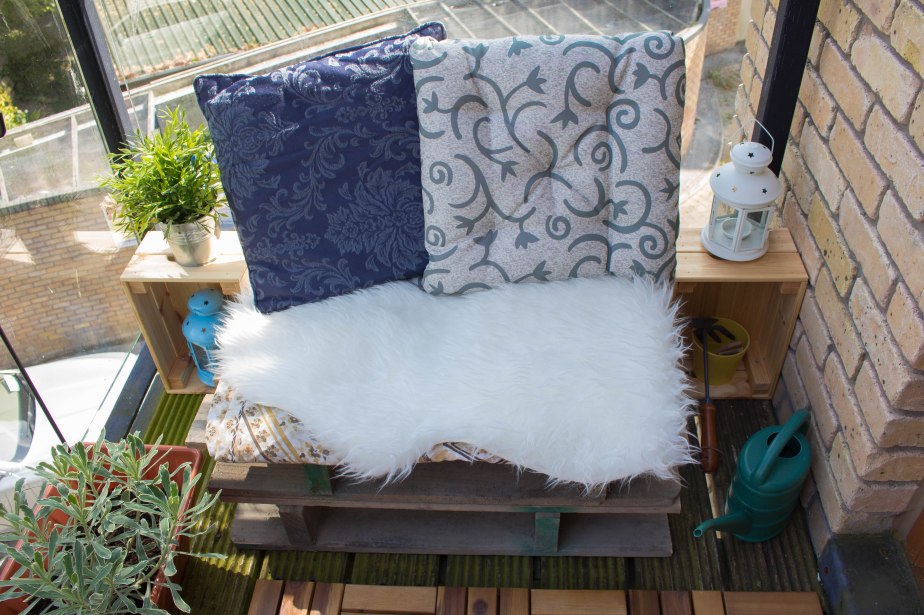
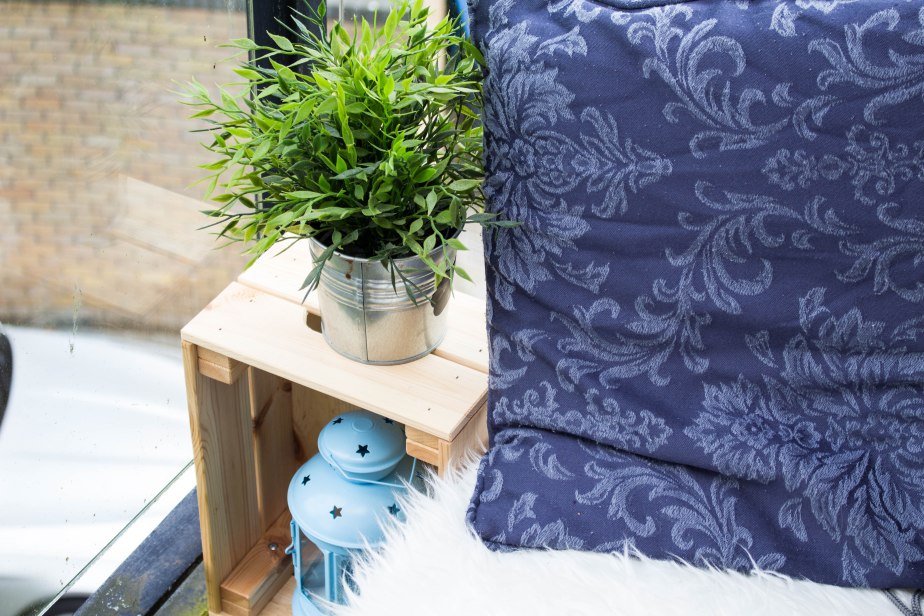
Made the side tables with the small wooden pallets from Ikea, you can have a look of the things that I bought from Ikea over here.
Some more decoration elements;
So guys, that’s about it. It’s like discovering a whole new room in this apartment. I don’t want to stop talking about it, and showing you more pictures, but I guess WordPress has it’s limitations. 🙂
Just before I go, here is me and my partner-in-crime enjoying our little corner!
So, tell me, you like it, love it, hate it or whatever:S ???
Until next time!
Cheers!
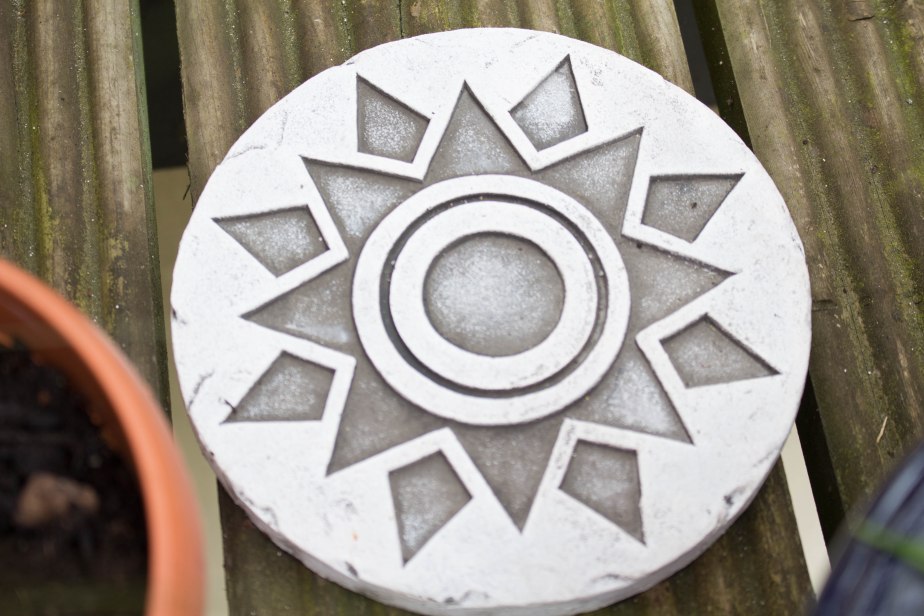
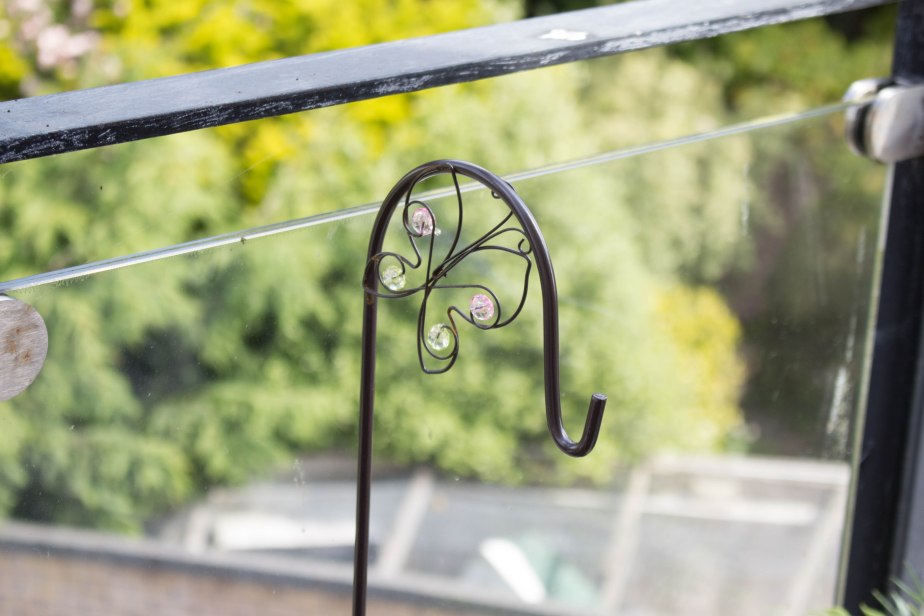
Source: Plants: Homebase Garden Center, Containers: Homebase Garden Center and Dealz, Mirror: Old, Wooden Tiles: Aldi, Lanterns: Ikea, Wooden Pallets: Ikea, Stepping Stone: Dealz, Hanging Hook/ Bamboo Torch: 2 Euro Shop, Cushions/ Rugs: Old from Ikea, Mosaic Solar Lamp: Dealz, Decorative Marbles: Homebase, Decorative Stones: Dealz

Beautiful! 🙂
LikeLiked by 1 person
Thanks a lot Alifya 🙂
LikeLiked by 1 person
Absolutely love it! I have been trying to spruce up some space for plants too. So far I’ve only invested in a pot full of succulents. Hoping those babies survive the weather here. Inspired to do more after reading about your diy project.
LikeLike
nice touch with the mirror Cydra 😉
LikeLiked by 1 person
Thanks a lot dear!!
LikeLike
Amazing I m in love with the makeover
LikeLiked by 1 person
Thanks a lot!! 🙂
LikeLiked by 1 person
Nice work babloo
Eid Mubarak
LikeLike
Wow it’s stunning, loving the arrangements!
LikeLiked by 1 person